In our Planning for Success article, we attempted to encapsulate the entire pipeline of an interior visualization project through a typical brief and timeline. We covered every stage of production and brought to light some time saving methods, often involving the use of third party services and providers. In this article, we’ll take a deeper look into one of those timesaving third party solutions, and how to make sure your investment reaches its fullest potential. We’ll be talking about 3d assets, and the importance of putting them up against a set of standards to ensure your investment is well placed. If you’re an experienced modeler just looking to save time, feel free to skim over what follows. If modelling isn’t your forte, read on!
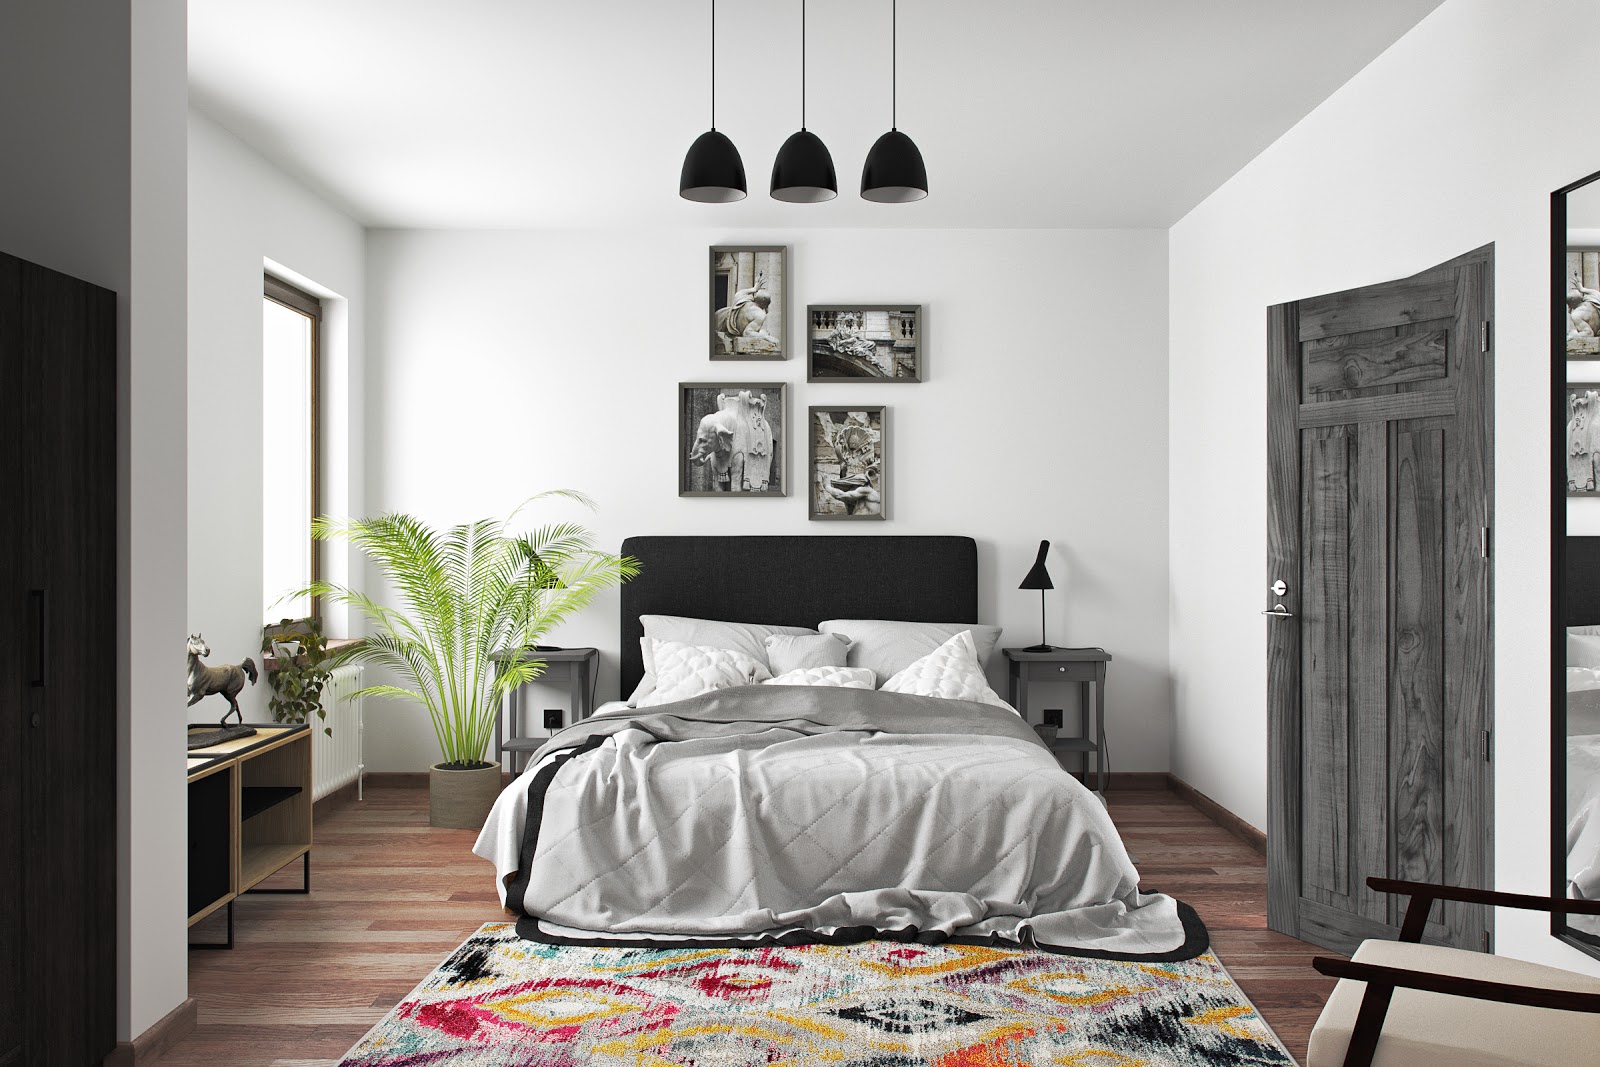
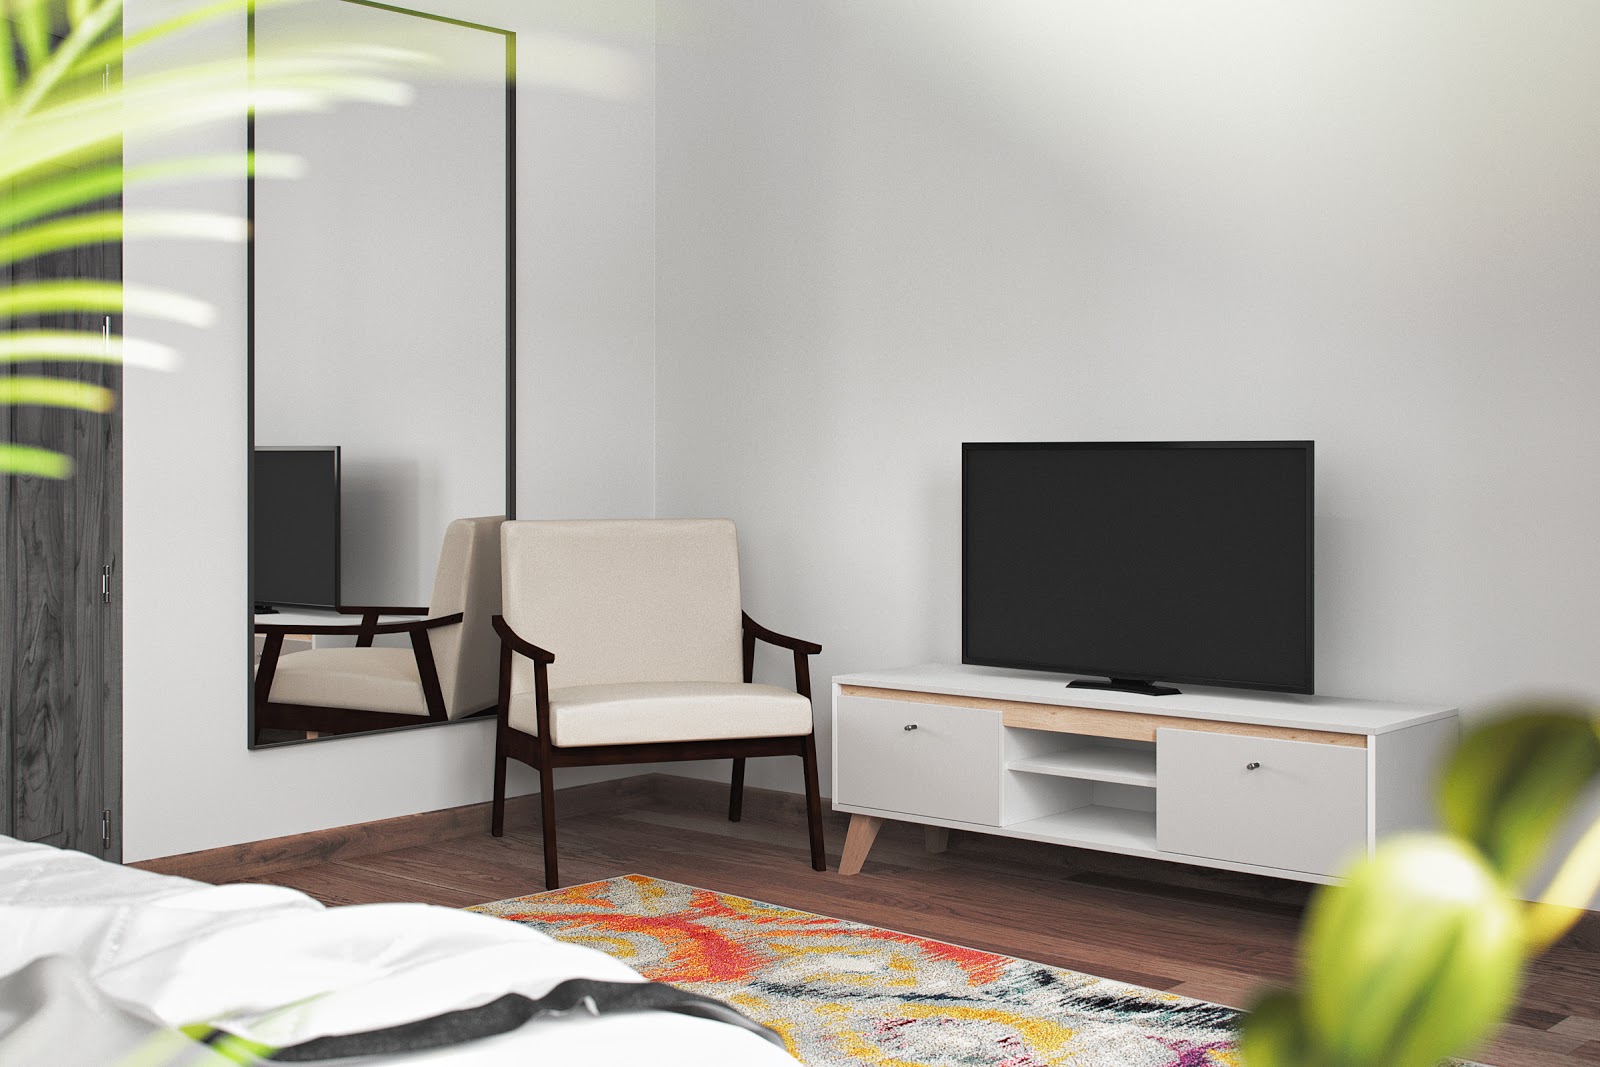
Having access to one or several repositories for 3d assets can take hours off of our projects and allow us to stay flexible in the midst of frequent turnarounds, as well as give us more freedom to allocate our time wisely across the different phases in realizing our interior scene. The more well made each asset we use is, the more seamlessly we can incorporate it into your visualization. There are many qualities in a 3d asset and asset provider service that contribute to how much time it can save us on our projects, and we may want to consider at least some of them as we peruse the many repositories in the giant digital bazaar that is the internet.
Topology
Topology is a term used to describe how faces or edges are used to create the form of a model, and is probably the biggest determinant of a production ready asset. Here are some things we can consider when looking at a model’s topology:
Subdivision – a technique that allows us to non-destructively add more resolution to a model. A common application for this in interior visualization is when we have a round table that will eventually be positioned as a point of focus, close to the camera. At a very close distance we may want to smoothen the contour of the rounded surface a bit more, because when seen up close, we begin to see that the shape is more of a decagon than a circle. Were the table situated in the midground, this would have been acceptable, since a high resolution model would add to the computation time needed to render the scene later on. This is why many assets come in what would be a middle resolution model, which would allow us to only apply subdivision for close shots, but otherwise be good to use out of the box, so to speak.
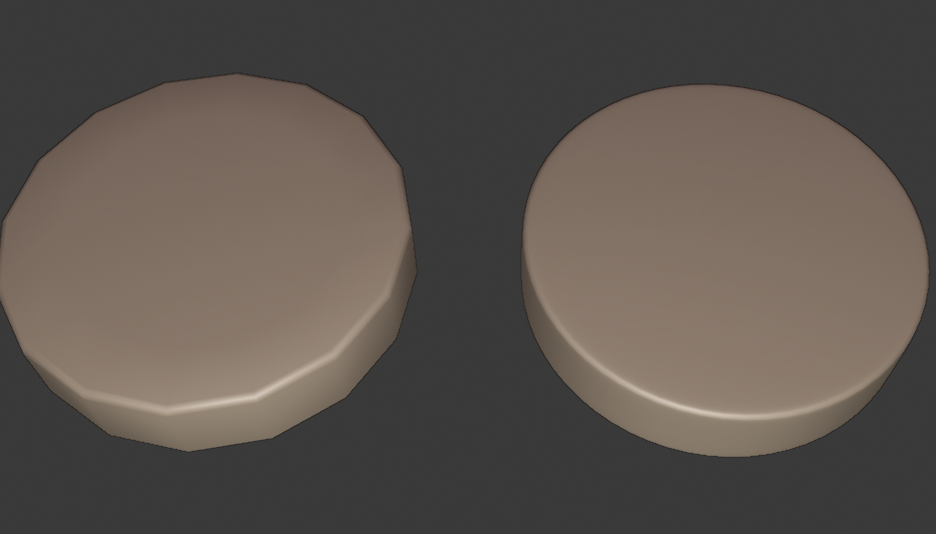
Though not necessarily inevitable, subdividing a model or a mesh produces some smoothing, especially in corners and junctions. In many cases this is a desired outcome, but there are precautions we would take to make sure we maintain crisp edges where we want them, and that’s where topology comes in.
When looking through assets, we want to see holding edges around places we don’t want smoothed. This is so that if we applied subdivision to the asset for whatever reason, we don’t get unwanted results.
Poly count – Poly count is directly influenced by subdivision, and is really just how we refer to the number of polygons a mesh contains. As mentioned earlier, a mesh with more resolution (or polygon density) than needed to represent a particular form can add to the render time of your scene later down the line. Because we’ll likely be working with quite a few assets in our projects, paying attention to the poly count of an asset is a must if we want our scenes to render in time for those deadlines!
The number of sides in polygons – All meshes are made up of polygons, and most meshes are made with either triangles or quadrangles. For film and visualization, we tend to favor models made with quads, because they behave the most predictably when subdivided. In some cases the careful use of triangles can help in optimizing the mesh in terms of its poly count, but in others, the use of triangles can lead to artifacts when subdivision is applied. Ngons on the other hand, are faces that contain five or more sides, and are better avoided entirely. Ngons are a sure fire way to get some artifacts in renders, or even in textures. They may not cause trouble on flat surfaces, but better safe than sorry!
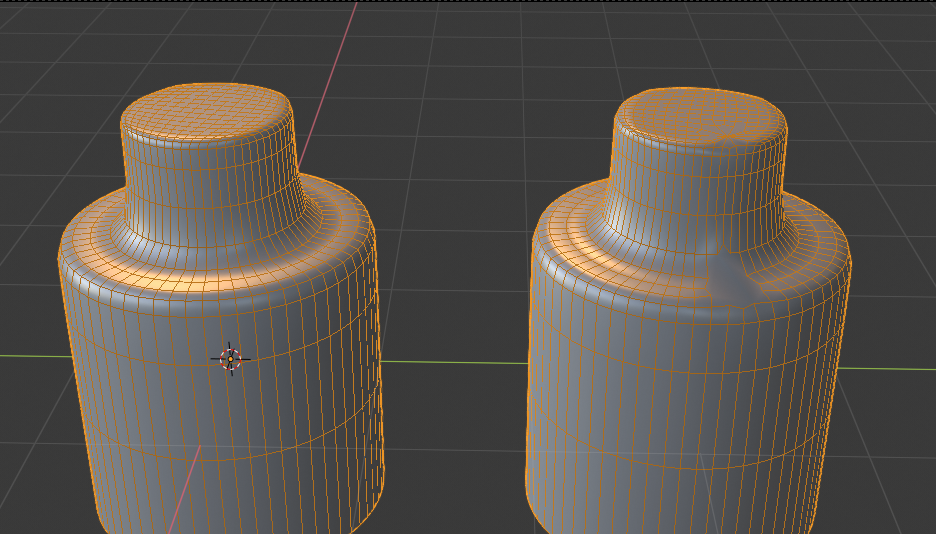
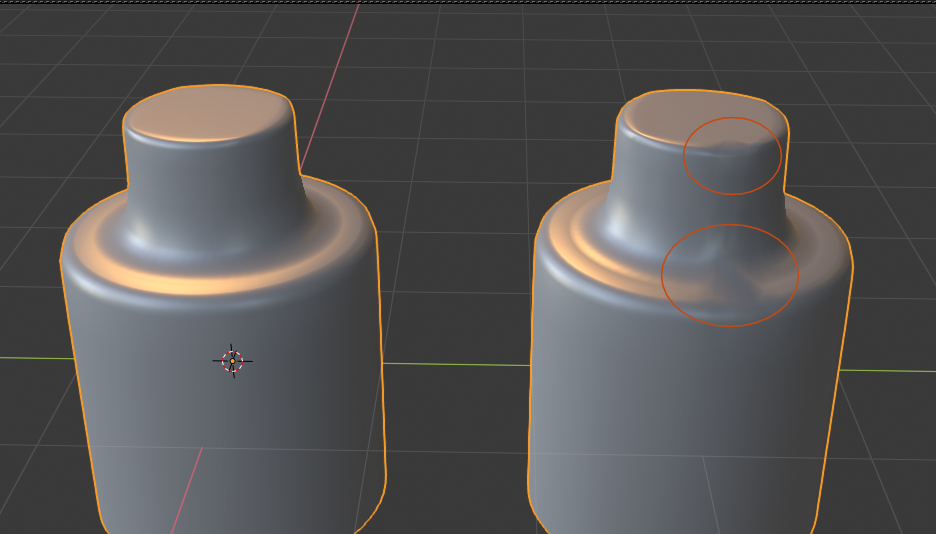
Let’s take a round table asset from 3dbee.it as an example and let’s examine its mesh.
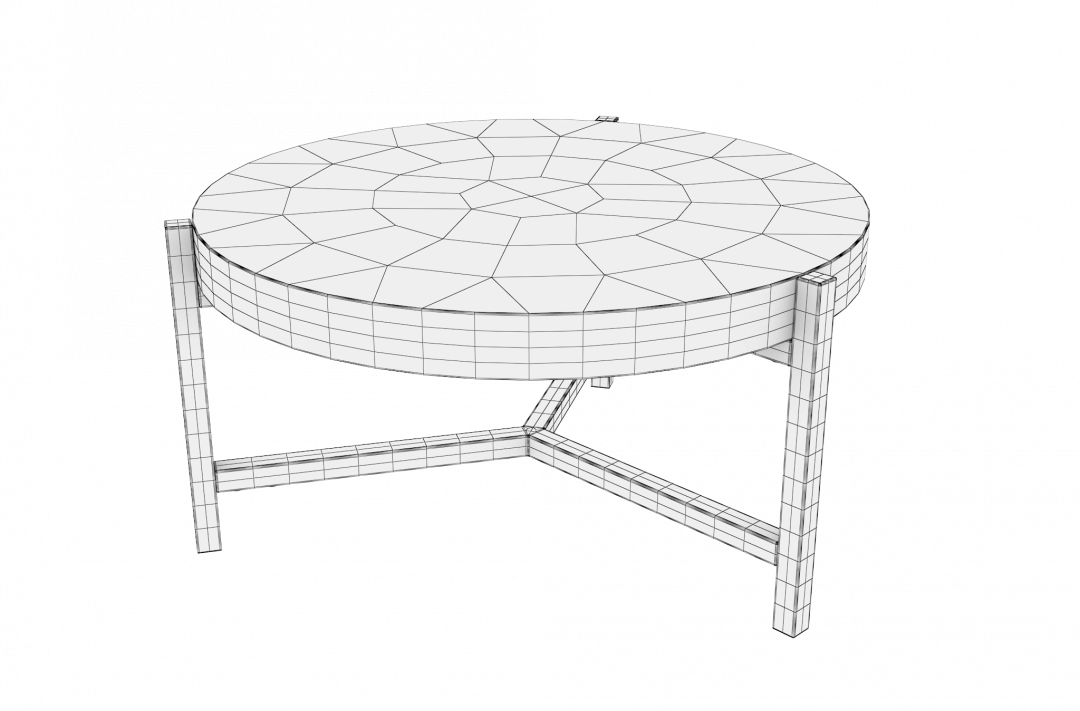
The topology on the table top allows enough resolution for the circumference of the surface, but reduces the amount of faces nearing the center of the surface. Topology like this gives us smooth contours where needed, and allows us to subdivide the table top while keeping the polycount reasonable.
The faces are all quads. The holding edges around the top and bottom of the table top, as well as the corners of the legs and base will retain the desired shape of the model after subdivision.
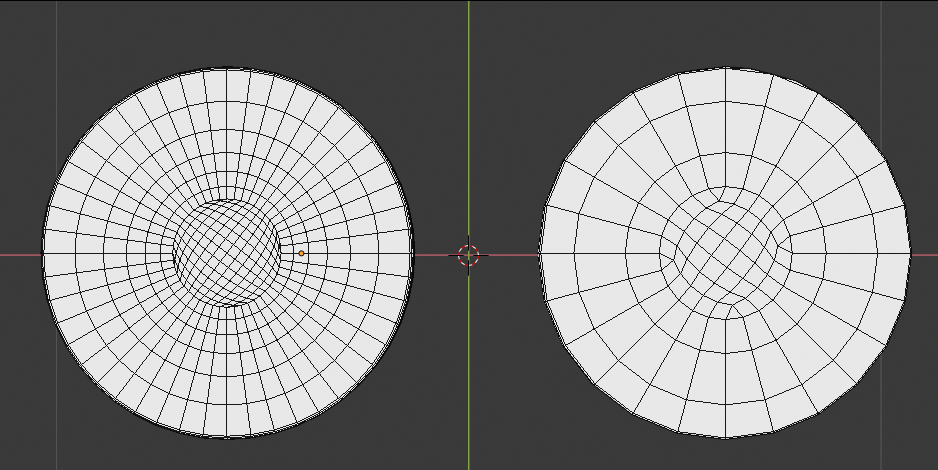
On the left is a similar tabletop with the same number of vertices around the circumference of the mesh. The polygon density across the surface is not optimized, and will consume more memory than necessary during render time. On the right is a less dense mesh, but the smoothness of circumference is compromised due to the unoptimized topology.
UV Maps
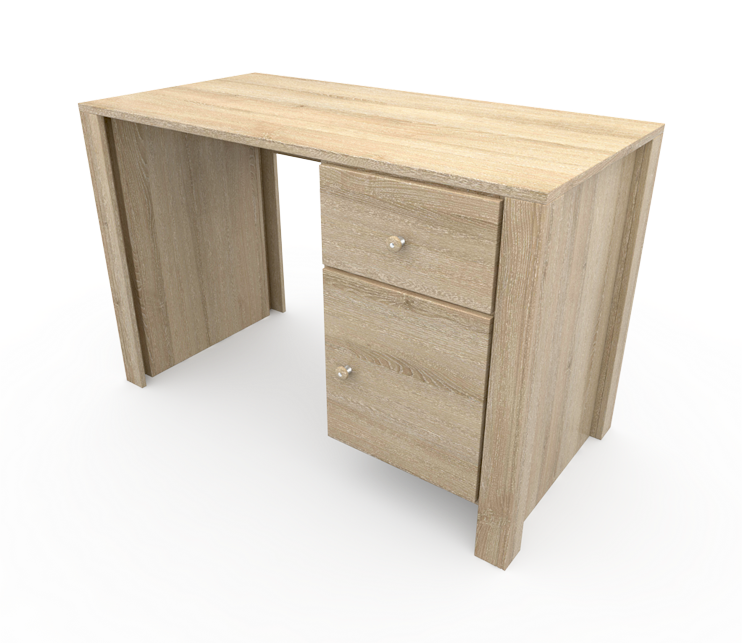
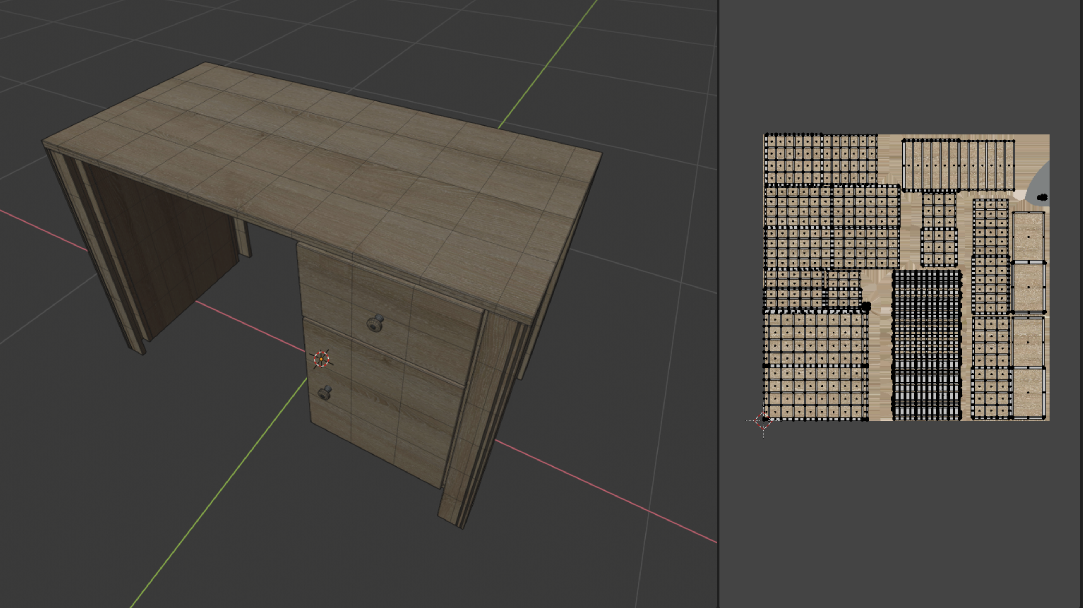
We might find ourselves with the perfect bunch of assets to furnish our room, but then get a note from the client with a request to change the lacquered wood finish with something a bit more raw. The fix would simply be a matter of finding an appropriate tileable texture set but to our dismay we find that the wood grains aren’t flowing naturally along our surfaces. This is a possibility that can easily come to pass with assets that were mapped haphazardly. Sometimes we might have purchased a model that didn’t contain any image textures initially, and haven’t been unwrapped at all. While it shouldn’t take that much time to fix issues like these, it’s worth checking an asset provider’s website or contacting them directly to ask about the UV mapping of their meshes.
Textures
Many assets available online might be presented in a way that might suggest that they would look as good after we’ve added them into our scene. This may actually be the case for some, but certainly not all of them.
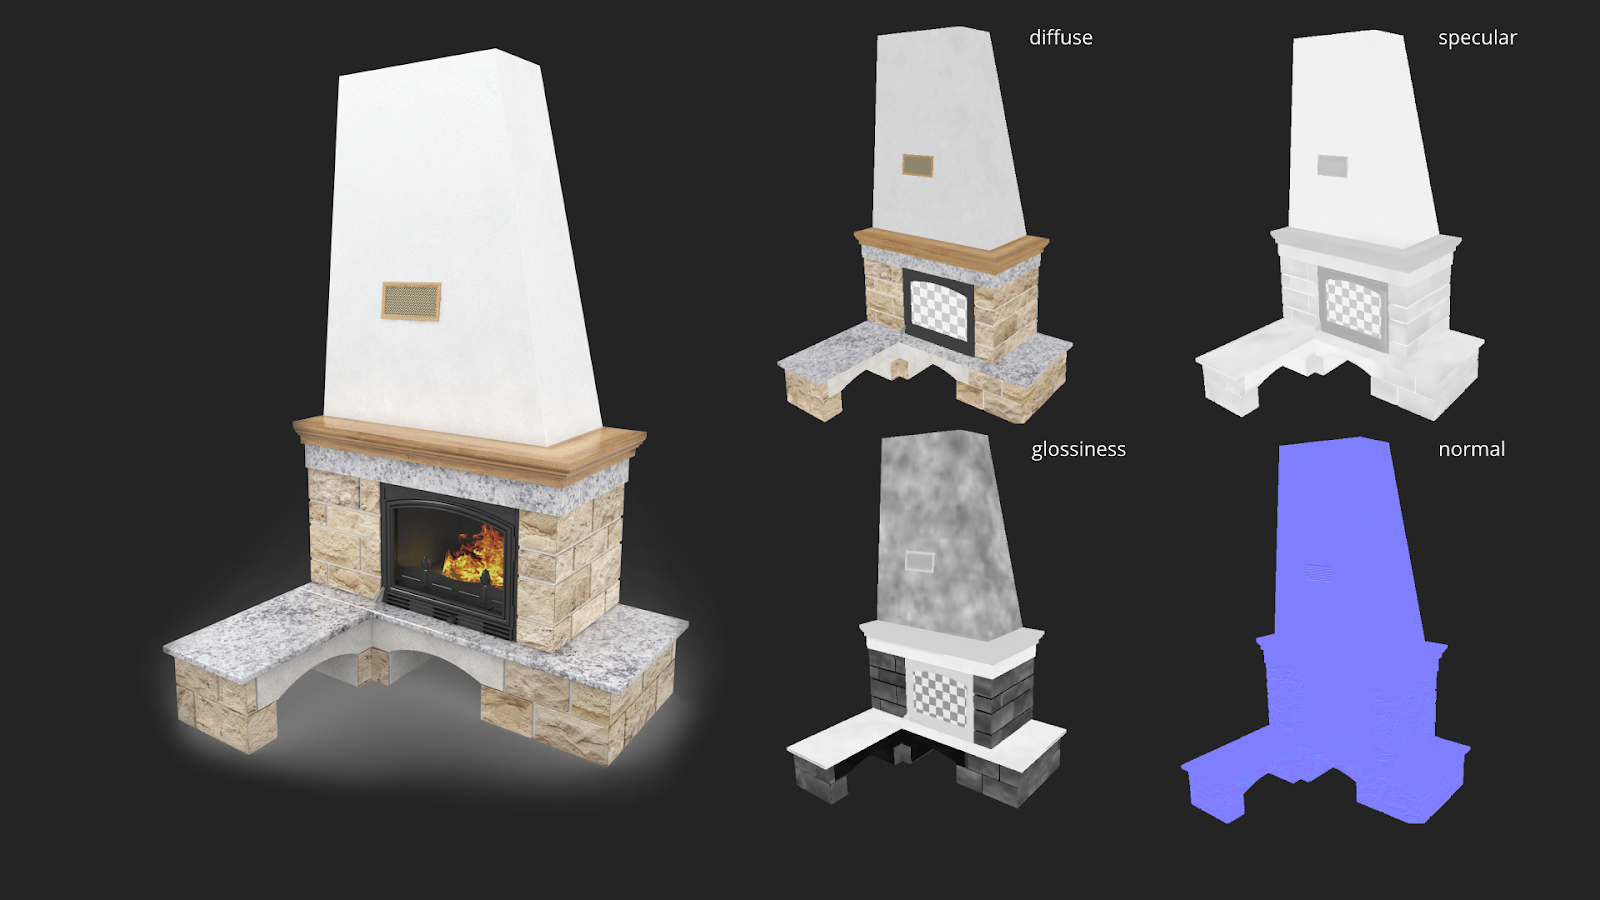
Much like the situation with UV’s, we can find ourselves mislead by the beautifully post processed preview images of certain assets and purchase them only to discover that the model only comes with a basic color map, and has no means of accounting for the properties of the surfaces in the model. It’s always a good idea to check for what maps are included in the assets you get to avoid any brutal disappointment in the midst of an incoming deadline.
Remember that texture sets consists of maps created for different kinds of shaders. Maps created for PBR shading are the norm these days, so keep that in mind if you’re using a render engine that doesn’t support the PBR workflow.
Integration
Because the main goal in using premade assets is to save time, the less tinkering that is required of them to produce a good render, the better. This is why beyond the assets themselves, an important consideration is how quickly they can be set up within your scene. Assets that come in universal 3d formats such as FBX or OBJ may need some relinking of textures to shader inputs, which is an acceptable inconvenience considering we didn’t have to do any modeling or texturing ourselves, but these days there are services in the market that allow us to bypass this tedious process entirely.
Asset services sometimes also provide asset managers that allow us to interact with their libraries, and add our purchases directly to our scene fully textured and shaded for our render engines. While this might seem trivial to some, the minutes spent on integrating individual assets to a project will stack, and result in a sizeable amount of lost time.
Final thoughts
Assets are heavy hitters when it comes to saving time in a project, but a little prudence goes a long way in avoiding situations in which we end up spending more time than we would have had we done everything from scratch. The number of asset providers is increasing, and so is the likelihood of us finding what we need online. This is why it becomes more and more important for us to be able to determine what sort of assets we need for a given project, relative to their cost and quality.
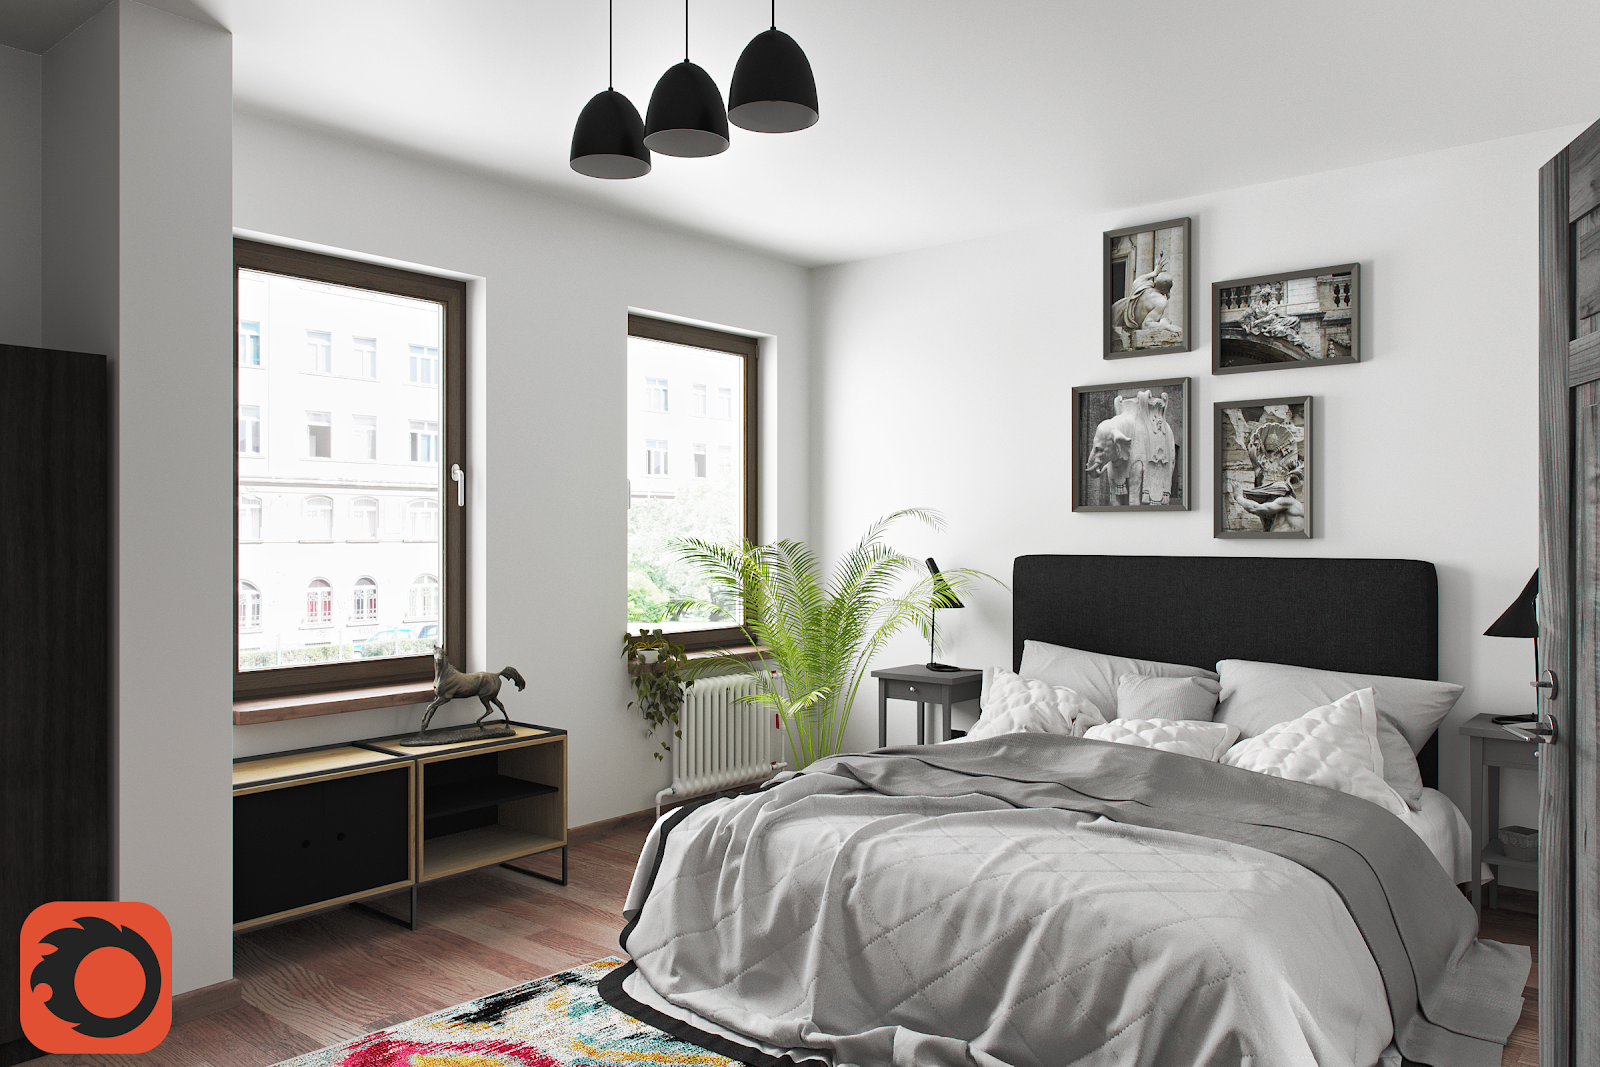
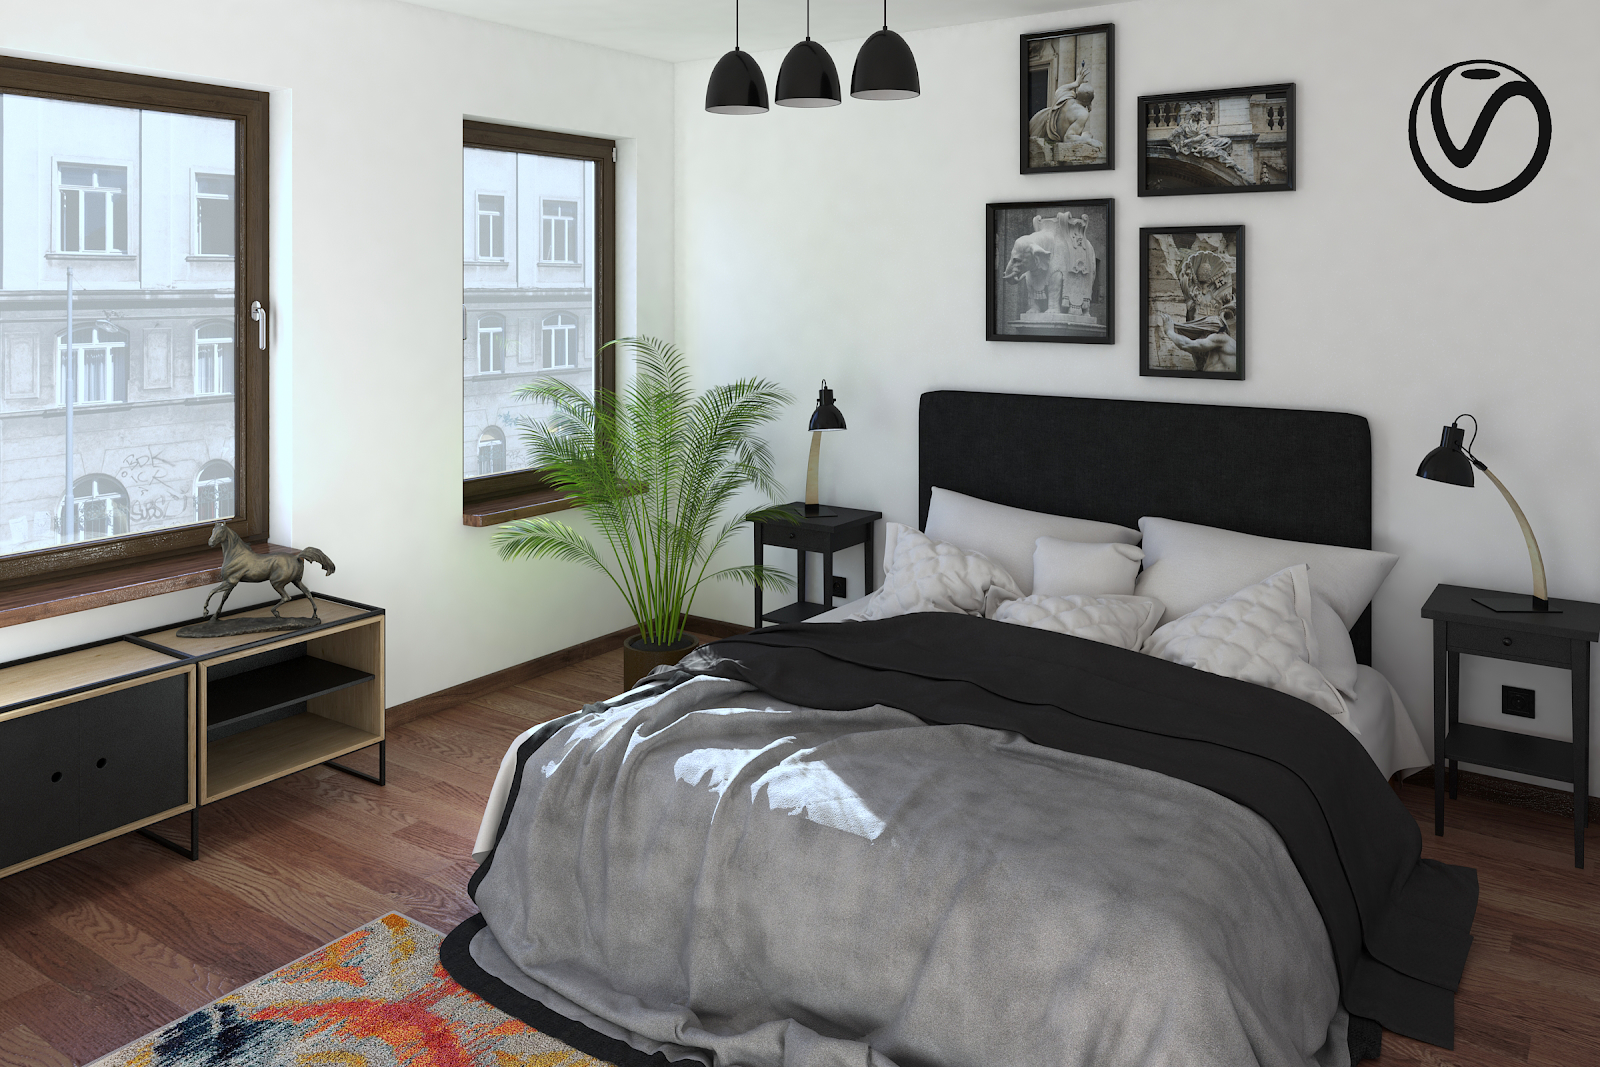
We made the assets and base room used in some of the bedroom renders available for free on our online asset manager. We invite you to have a go at testing our service with these assets. To learn more about how to use our service, head over to our How it Works page. Once you have registered and downloaded our app, look for the category FREE and an asset called “Bedroom Base”. This is the room we used to build an interior scene for this article.
We hope this article helps with finding and determining quality assets you can easily incorporate into your visualization. Happy creating from all of us at 3dbee.it!
